Showing posts with label Modifications. Show all posts

Friday, August 5, 2011

The Colonel Gets Some New Legs

As I mentioned a couple times over the past couple weeks, I had another upgrade planned for the Challenger, but wasn't able to get it installed until this week.

Back in June, I was able to get a smoking hot deal on a complete SRT Challenger suspension setup. The guy I bought it from has an SRT Challenger, but had upgraded his suspension, so he decided to sell his stock components, and he made me a deal I couldn't refuse. They were barely used with ~2,000 miles on them, whereas my stock suspension that just came off was at 12,700 miles.

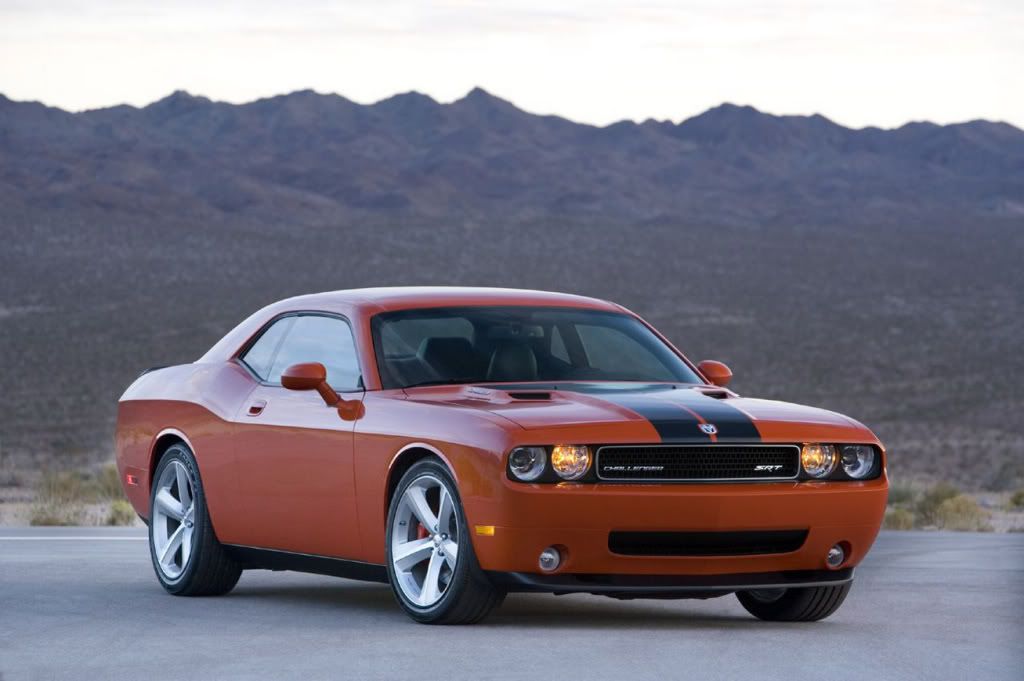
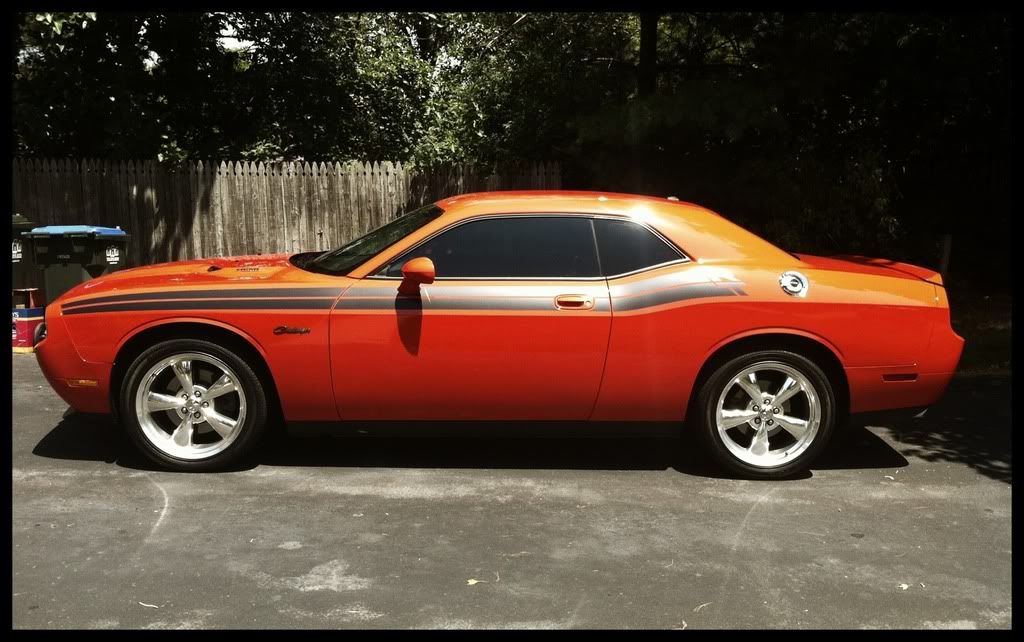
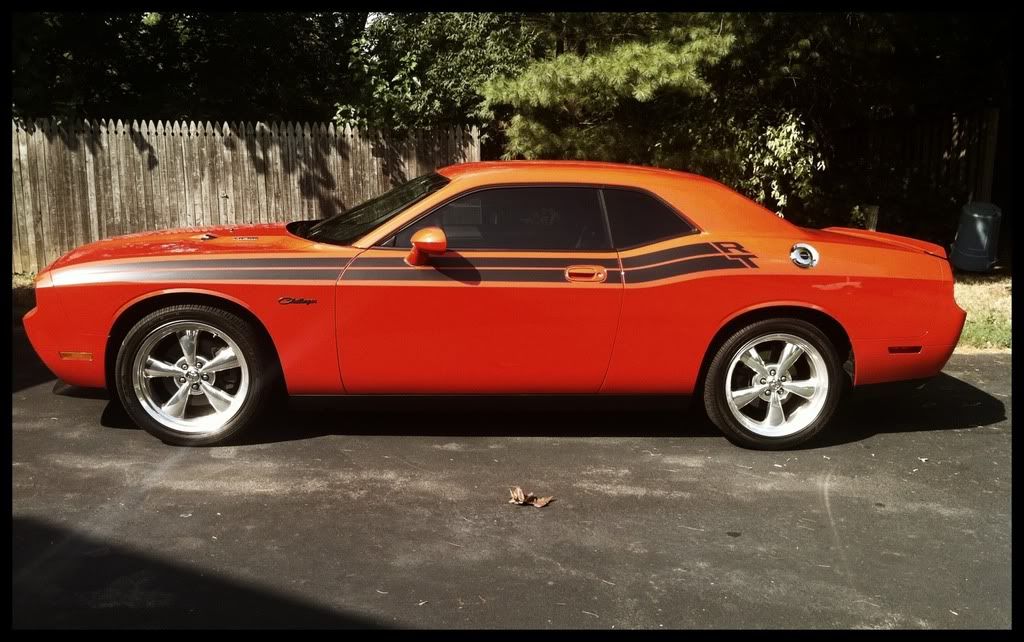
I wanted something that would lower my car ever so slightly and give it a more aggressive look without actually looking like a "lowered" car, and I wanted the appearance to remain stock to the untrained eye. For these reasons I was looking for the OEM SRT setup versus purchasing some other kind of coil-over kit that would've lowered the car more than what I would have liked. The SRT suspension ended up lowering my car about 1" in the rear and about 3/4" in the front. The front may drop a bit more in the next couple of weeks since they are still relatively new parts, and the weight of the engine may settle it down a touch more. It's not a huge difference but it is noticeable, however if it weren't for me pointing this out, I have doubts that anyone would've noticed. The ride is considerably better though, and a decent amount stiffer than the R/T suspension was. There is also far less body roll going around corners which really improves the handling of the car.

Anyways, I'm really happy with how it all turned out, and am enjoying the increased performance of the SRT suspension a lot. Here's some before and after pictures I took. If you look at the gap above the tires, you'll see it's smaller in the second picture with the body of the car coming down about 1 inch. What does everyone think? Would you even have noticed if I didn't point this out?


Before

After
Wednesday, July 27, 2011

Upgrades Update

Remember this post from last month about upgrades? Well, I got the said upgrades, but haven't had a chance to get them installed yet. Fear no more though, because in one weeks time the Colonel will have the next round of upgrades complete! Sorry for the slight delay on this one, but rest assured the plans are now set! I'll of course do a post-upgrade...post on it all, complete with plenty of wonderful pictures! Hooray! In the meantime, here's another picture to help you guess what I may be up to. Enjoy!


Wednesday, June 29, 2011

The Colonel Gets A New HUD

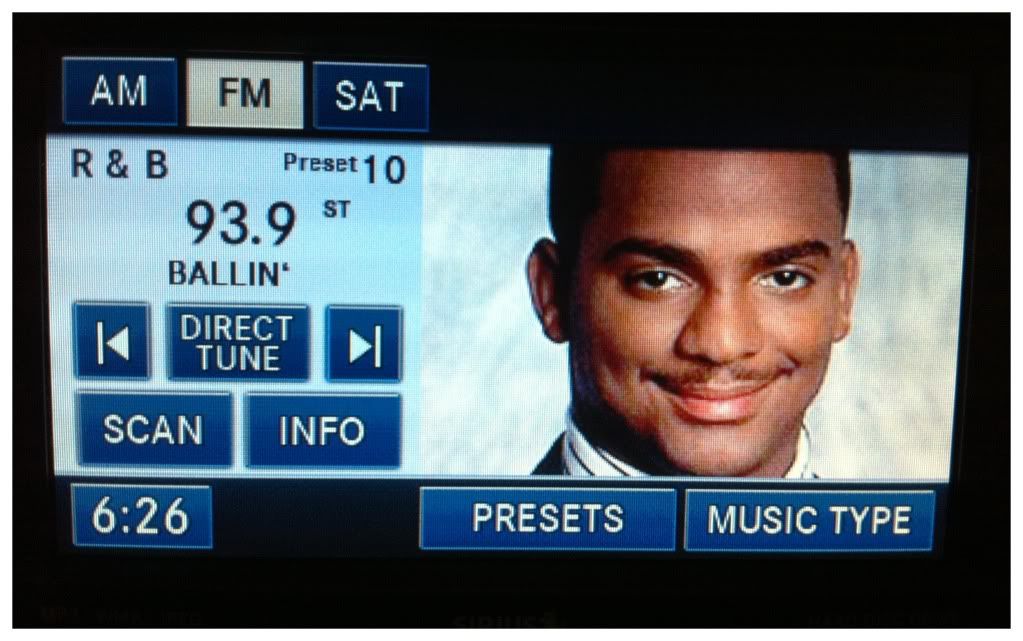
Okay, so not like the Challenger was really low-tech to begin with, but in the audio department it definitely lacked a little bit [at least by today's standards.] When I ordered the car, I knew it wasn't going to be my daily driver, so I didn't opt to pay for a few of the snazzy features that I wasn't going to utilize on a daily basis, the touch screen Mygig unit being one of them. I think it was originally part of an interior or technology package, that would've included some other things I could care less about, like illuminated cup holders and stuff. So, I passed and figured if I really wanted something, then I'd upgrade at a later time.

That time came last week. One of the members of ChallengerForumZ is in the process of upgrading a ton of stuff on his car to get it ready for the SEMA show in Las Vegas later in the fall. When I found out he was going to have his factory installed Mygig head unit up for sale, I sent him a message and he offered to sell it to me at an extremely good price, so good that I bought it immediately, and had him ship it out the next day. 

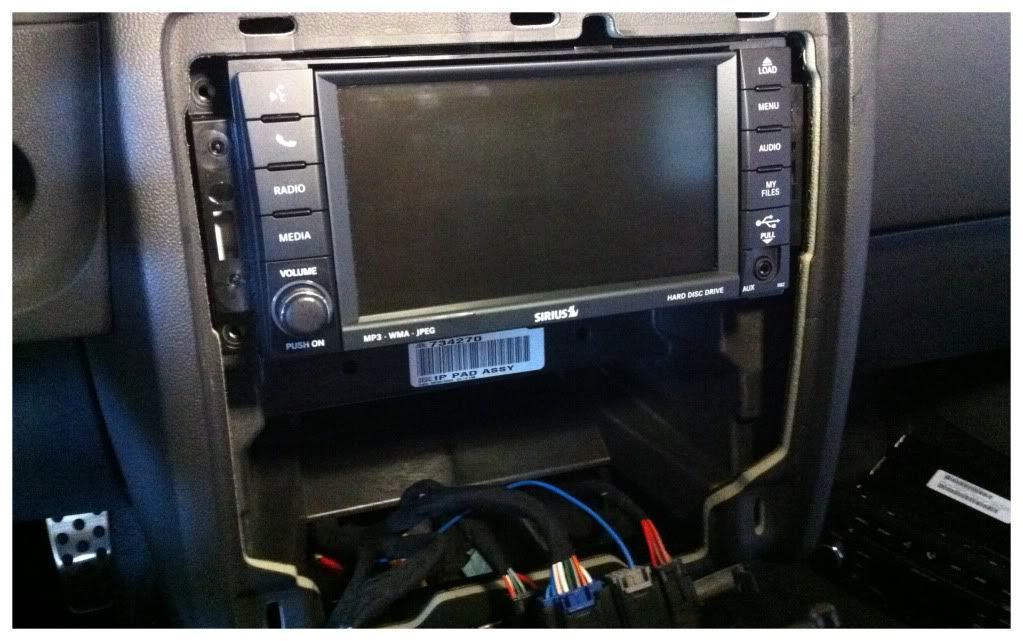
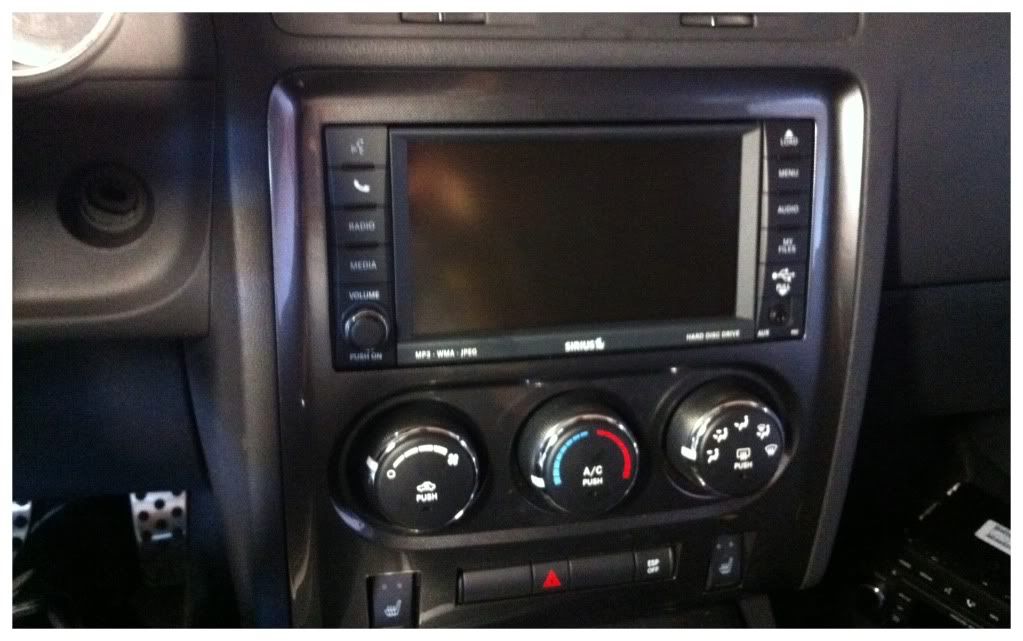
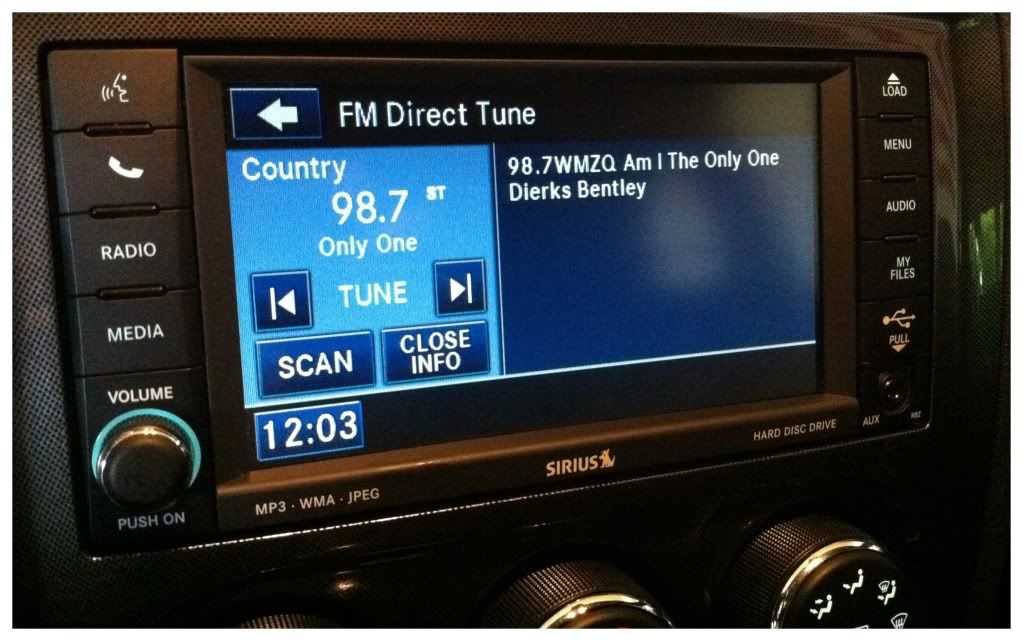
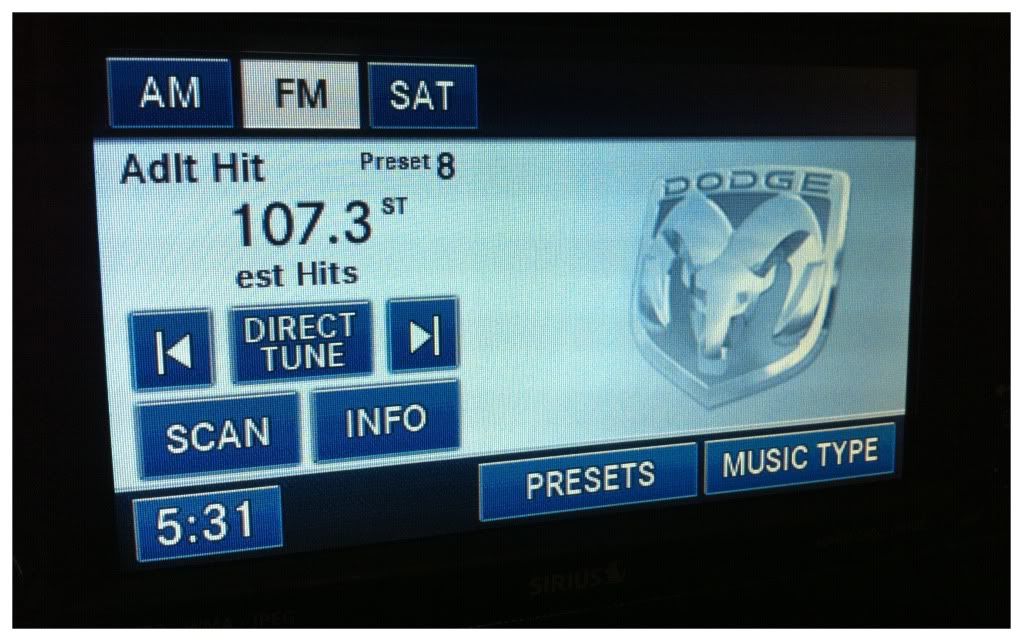
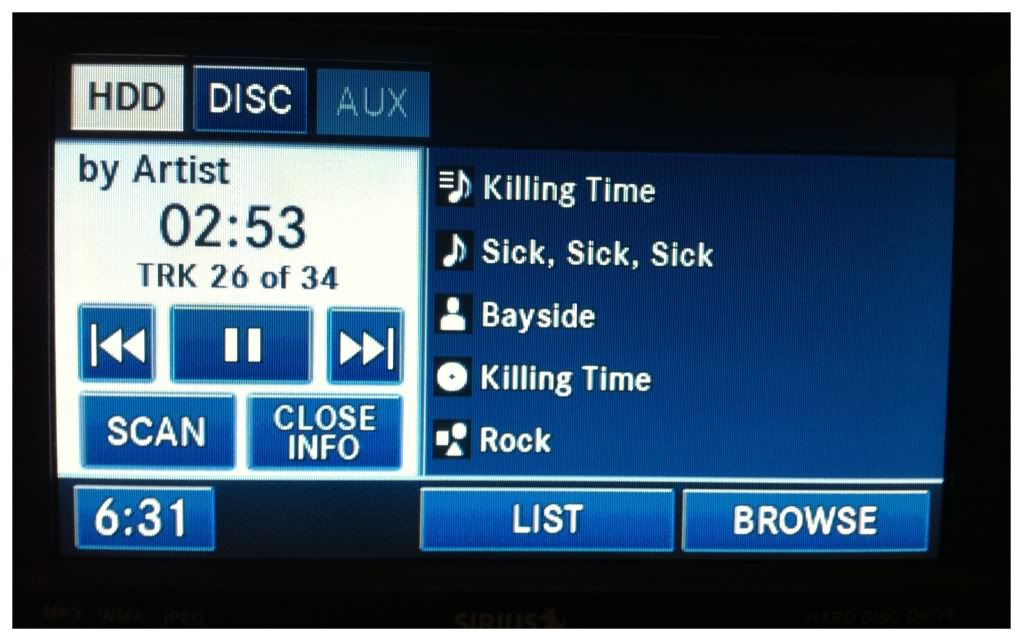
Fast forward to Monday night when I got a notice saying that USPS tried to deliver it, but missed me [seriously, why must they insist on making deliveries in the middle of the day when they know you're not home?!] so I stopped by the post office yesterday to go pick it up. Since this unit is a stock OEM piece that could've originally come from the factory, it was really easy to install, probably took me all of 10 minutes. [I go through a little of that in the pictures below.] Once I got it installed and the dash put back together, I of course had to tinker with it for the next two hours. One really nice feature is that it includes a built in 30Gb hard drive, so I can just load all my music onto the head unit itself, and just play the files directly off the hard drive, rather than having to plug in my phone or something. Also, the fit was perfect, and looks like it came from the factory like that. I think it livens up the cabin a little bit as well. Anyways, I'm really happy with this little upgrade/modification and can't wait to take another road trip to really utilize it. On with the pictures [and video], enjoy!

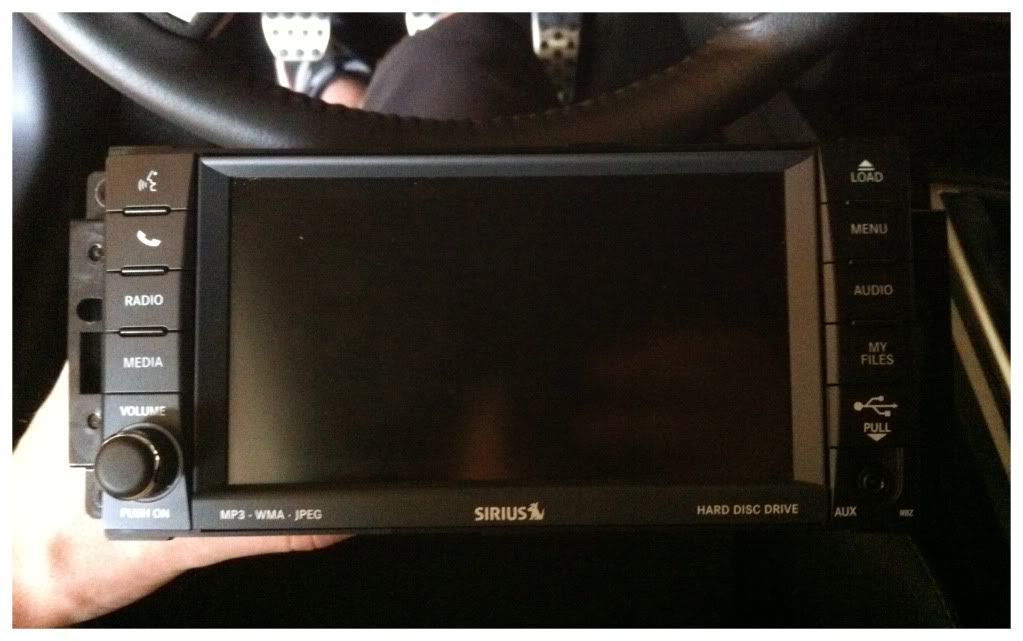
New touch screen head unit, ready to install.

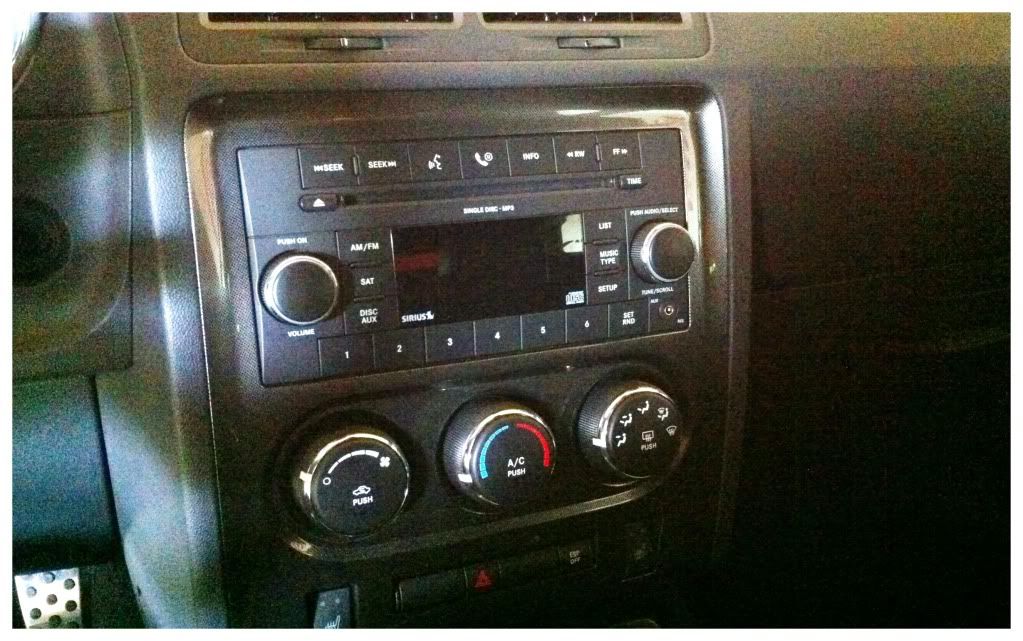
The center console, before. [A little boring]

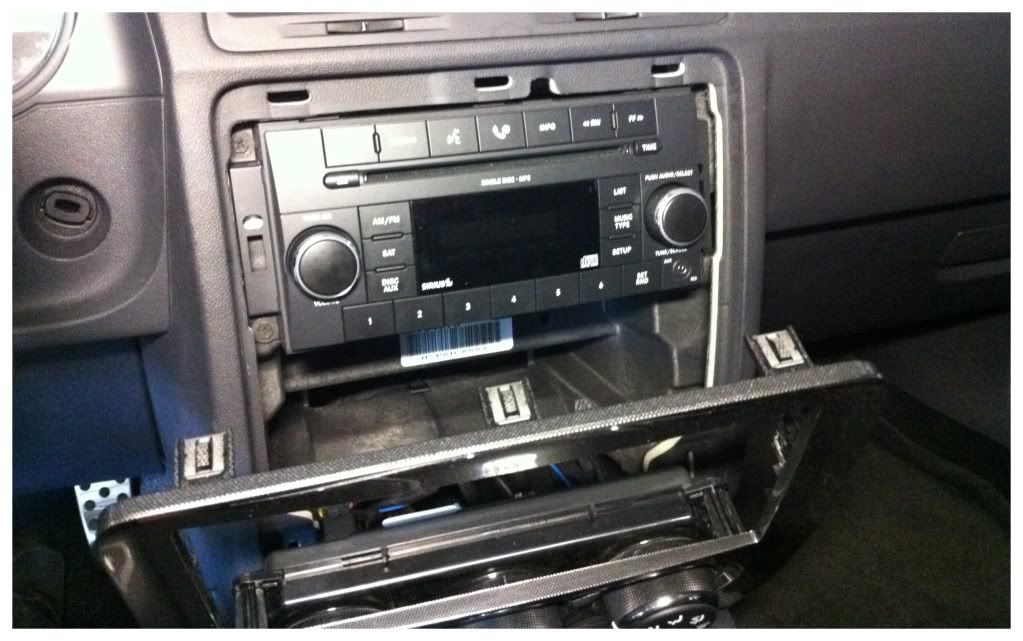
Taking apart the dash to get the old one out.

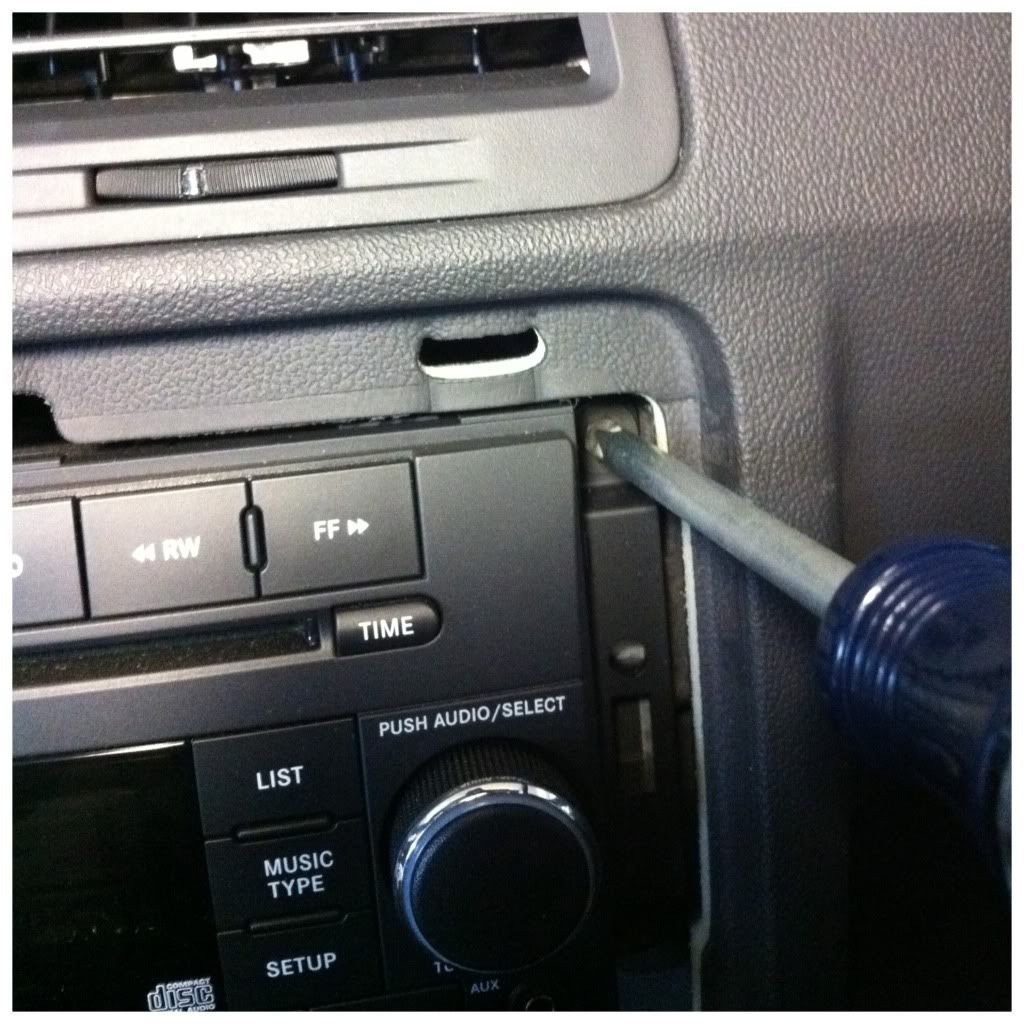
4 screws hold the unit in place behind the center console.

Unplugged the power cable, antennae, and wiring harness off the old one,
and plugged them right into the back of the new one and slid back into
place. [One great feature of sticking with original OEM equipment!]

Dash put back together for a perfect and stock looking fit!

It works, success!

Default home screen.

After a little 'personalization'! [You can upload your own photos
and change the background picture to anything you like.]

Mp3's playing off the hard drive.

Here's a quick video of me going through some of the basic functions.

Monday, June 20, 2011

More Goodies For The Colonel

I've just purchased a couple other items for the Challenger, and hope to get everything installed sooner than later. Rest assured though, I'll make a follow up post with pictures when everything is all set. The answer to what I got lies in this picture though.

Friday, May 13, 2011

Good As New....Almost

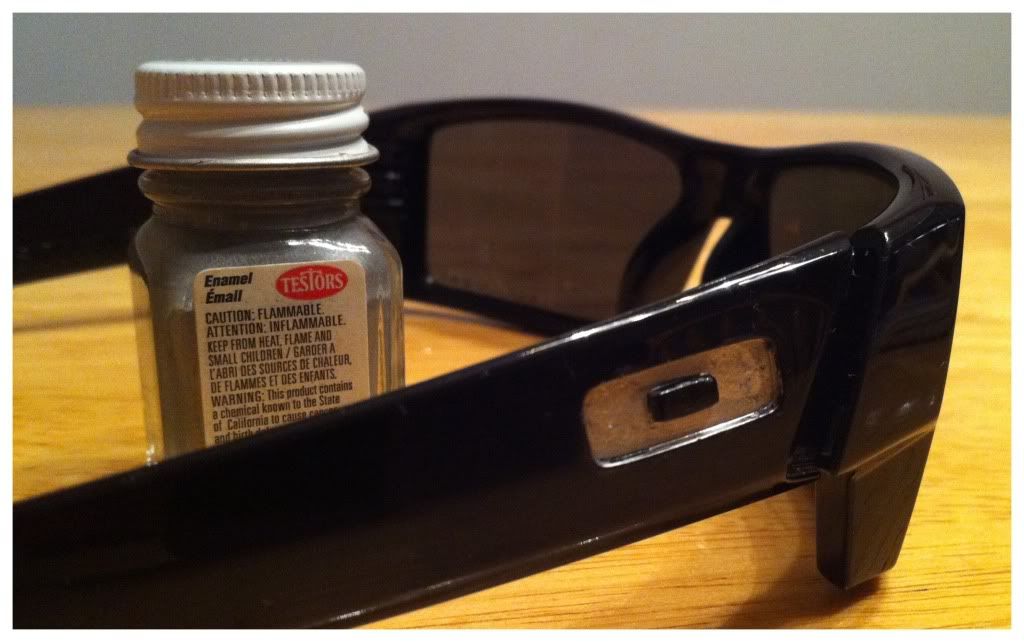
A couple months back, one of the side logos on my favorite pair of sunglasses fell off, or rather, the slick metal cover fell off the glue underneath, leaving a completely mismatched look. I let it slide for a while but kept meaning to get around to fixing it. Fixing it in the traditional sense would be difficult because I have no idea where that metal piece disappeared too, and thus couldn't simply glue back on, so I ripped the other one off instead! After a good little cleaning with some nail polish remover and a razor blade, I had the area de-glued and cleaned up. Enter, silver paint!

A year and a half ago, I had bought some Testors brand model paint to customize the engine cover on my car, and still had the little bottle lying around. I found a small paint brush [which proved to be too big for this particular job, but worked nonetheless] and did my best to evenly fill in the indented area to make the 'O' logo stand out once again. If you get in there real close, you can see that this was a do-it-yourself job, but from any sort of distance more than 2 feet, you can't tell. I'm happy, and now both sides match. Here's to a little creative solution!

Monday, March 28, 2011

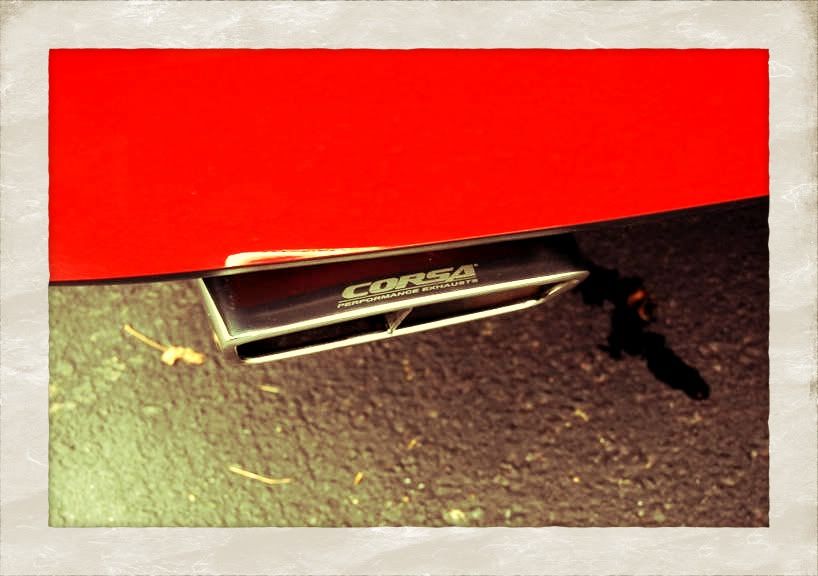
The Colonel Just Got Louder

It wasn't much of a secret when I shared last week that some goodies were on the way, that I was planning on getting a new exhaust system for the Challenger. It's been something I've wanted to do for over a year now, and I just figured with the weather [hopefully] about to break, and all the car shows and events right around the corner, what better time than now?!

Last Monday evening, I called up High Horse Performance based up in Delaware and ordered the Corsa Xtreme cat-back exhaust system, a 180 degree thermostat, and a email tune [for me to load onto the cars computer.] The thermostat arrived on Wednesday, with the exhaust showing up on Thursday. I was very pleased with the turnaround time on the shipping considering I called them just before closing time on Monday evening. This weekend provided some interesting weather, but it was relatively nice out on Saturday, so my roommate and I got to work on the install. It took us about 2 hours from start to finish, not too bad if you ask me. Although if we had to do it again, we could probably do it in only an hour now, now that we know the process. At any rate, it went smoothly with no issues, and I'm real pleased with the new growl that the Colonel has developed. It should burn in nicely over the next 1,000 miles or so and deepen a bit as well. Overall, I'm a happy camper and downshifting is more fun than ever! 

I took some before and after video of the exhaust install, and I'll try and get that put together shortly, but in the meantime, here's a couple pictures from the installation. 


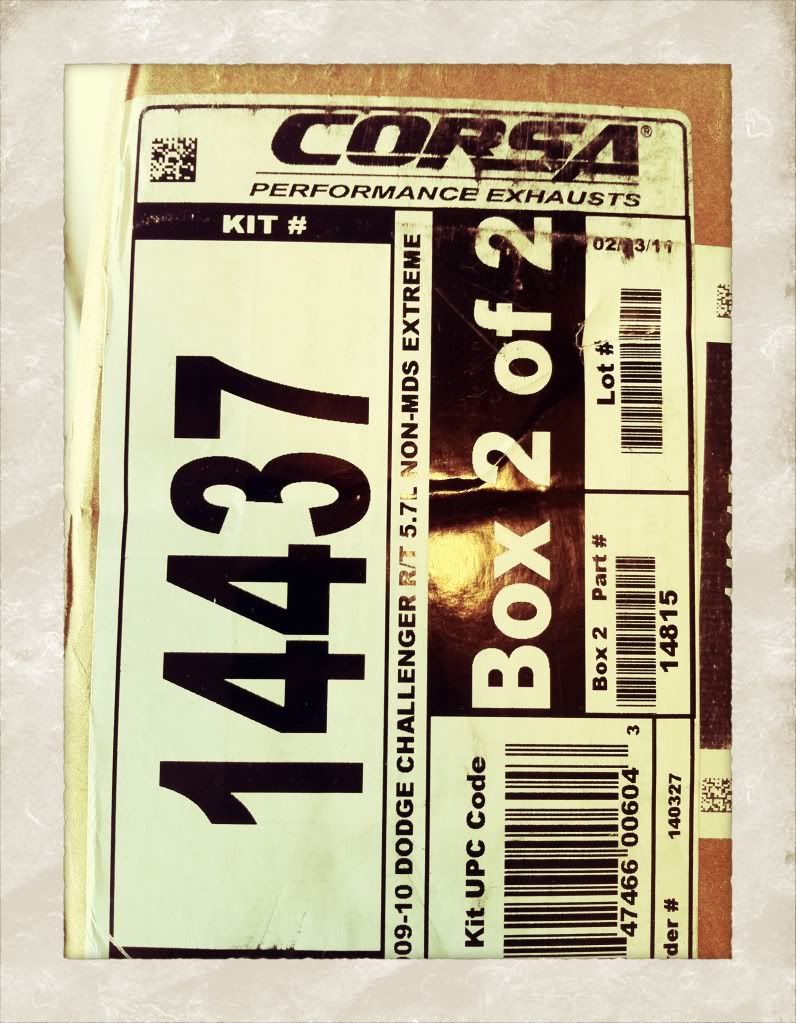
Corsa 'Xtreme' Cat Back Exhaust


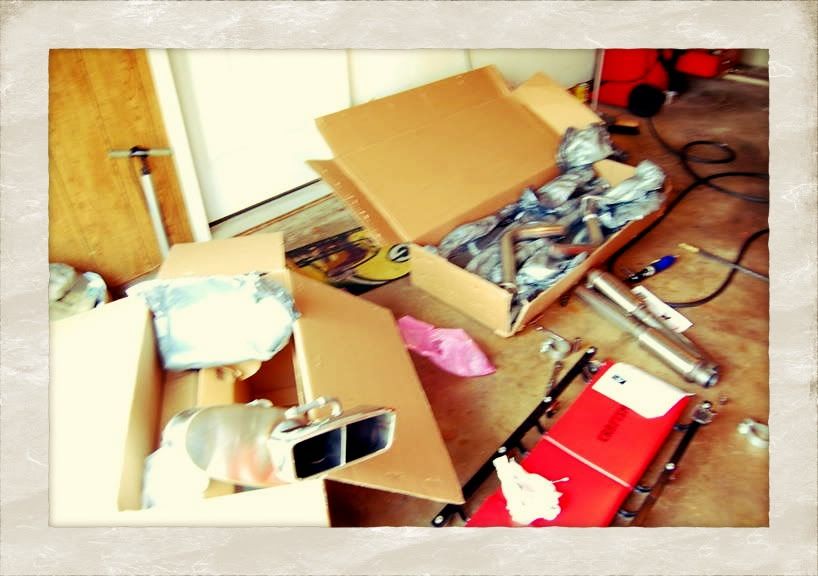
Two boxes contained the new system

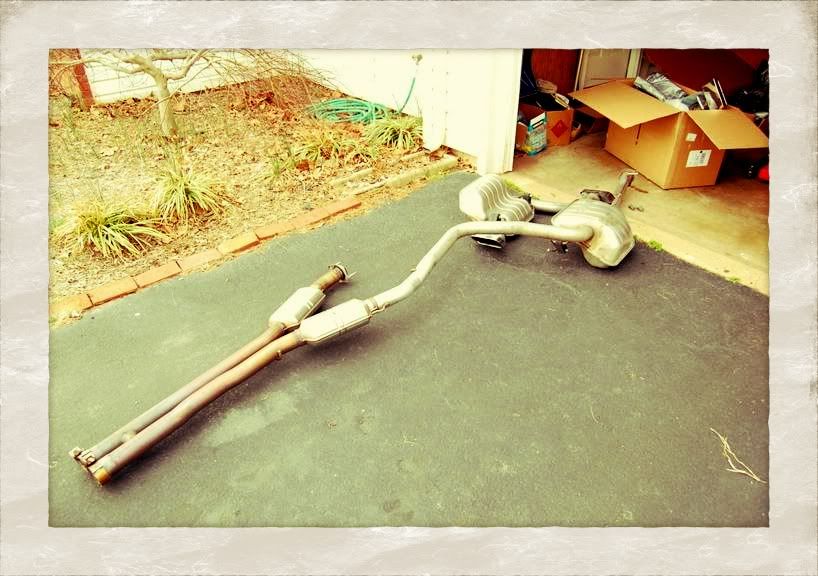
Stock exhaust removed

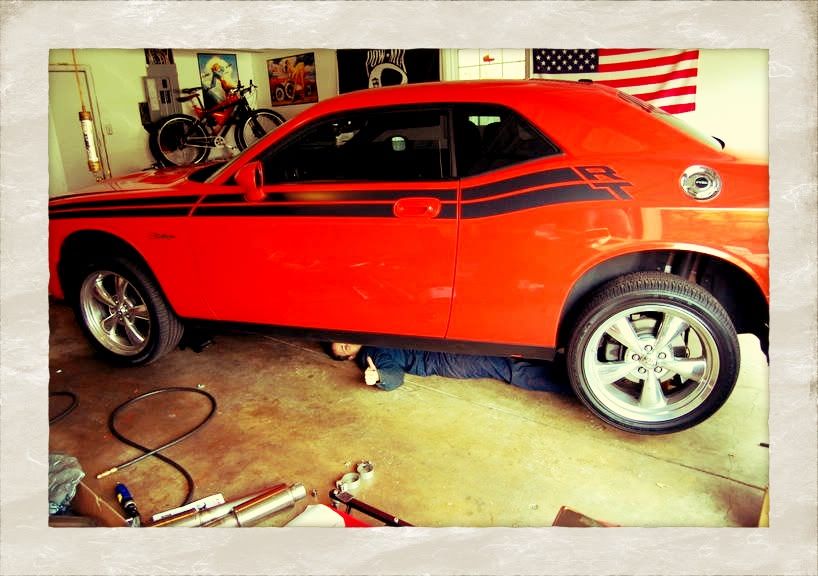
The Colonel up on 4 jack stands

All finished


Wednesday, March 23, 2011

The Colonel Is Getting Some Goodies


I've ordered a couple of items for the Challenger, and they should be here either this week or next. I haven't done or added anything to the car in quite some time, and with all the good weather, car shows, and meet & greets right around the corner, this seemed like as good a time as any. I should have plenty of pictures and video soon of all the installation work. Stay tuned for the follow-up posts!

Tuesday, December 28, 2010

Living Room-Mini Fridge-Beer Cannon

Soooo, this is amazing and awesome, and I may need one. That is all. 


[Mini Fridge Beer Cannon]

Monday, May 3, 2010

The Colonel Hits The Dyno!


I had been waiting for a while to get the Challenger onto the dyno ever since I put the first mods on, and when a couple local folks from the Challenger Z set up a group rate/dyno day for this past Saturday, I couldn't let it pass on by.

For those who don't know, a dyno machine is basically a machine with rollers in the ground that you strap your car to, and it measures the horsepower and torque numbers that actually make it to the wheels. When you see a car advertised on TV, it will ALWAYS ALWAYS display the horsepower rating of the motor itself, and not the true numbers at the wheels [which is where it actually counts.] For instance, my car from the factory was rated at 376hp [at the motor] and would probably make around 330-335 at the wheels.

To date, all I've added in terms of performance is the Mopar Cold Air Intake and a tune from the diablsosport predator tuner [which basically remaps the car's computer and advances the timing to draw more power out of the motor.] With those added, I'm very pleased to report that The Colonel put down 345.7 horsepower and 372.4 foot pounds of torque at the wheels, pretty respectable numbers. I was also very happy to see that the air/fuel ratio was spot on, meaning the car [and tune] is running/working exactly as it should! [You can see the results in the picture up at the top] If I decide to add a catback exhaust system in the future, I'll more than likely pay to get some more dyno time and a custom tune made specifically for me by a tune shop, to ensure that everything is still running properly and safely while squeezing out as much power as possible from the engine. Enough jibber jabber though, on with the video and pics! Enjoy!


My friend Pat's R/T on the dyno
The Colonel & 1BADRT (owned by my friend Troy)

Al, Troy, and some of the other cars
My friend Tim's R/T

The Colonel all strapped down and ready to go!


It was an exhausting morning of hanging out in the sun, eating donuts and listening to muscle cars roar! Thank goodness for that 4 point harness!

Friday, December 18, 2009

Engine Cover Customization

So last night I officially finished a project I had been working on for the past 2 weeks. Customizing the engine cover on the Challenger. I wanted to do this mostly because of that fact that the stock engine cover is pretty darn bland and when I pop the hood unfortunately there hasn't been a ton to look at. Well not anymore! The pictures will do most of the talking, but just wanted to note that while extremely time consuming the end result of this project was well worth it. I've shared these pictures and project write up on the Challenger Forum already, and plenty of people have already made requests for me to do the same to their engine covers [just use the color scheme that would match their car.]

I can't take all the credit though. I found out about this idea probably 5 or 6 months ago while I was still waiting for The Colonel to arrive, and had planned on doing it once the winter months hit. The guy who originally did the write up is named 'Speedy' and here's his awesome site. I followed his guide to the 'T' and it ended up coming out pretty good. There are a few minor imperfections here and there, but nothing terrible. I do plan on trying to touch some of them up in the next few weeks. Overall I'm satisfied, esp for tackling a project of this magnitude without any real prior experience to any of the stuff you see in this article. Anyways, as the pictures will dictate, the cover made quite the transition and was worth it in the end. Now when I go to a meet & greet or car show, I'll be very anxious to pop the hood so everyone can start checking it out with jealousy in their minds! On with the pictures, enjoy!

Stock cover and most of the supplies


I drilled holes in the corners, then drew my connecting lines with a sharpie, and then cut out this section using a dremel tool
Sanded down all the edges
Expanded aluminum insert trimmed, primed and painted semi gloss black
Masking off the HEMI lettering. This was a very difficult step. Cutting the tape to match the edges was a painstakingly slow process.

Outsides masked off, center primed and ready for paint
Painted semi gloss black [same as insert]
Center masked off, outsides prepped for paint
Spraying the Hemi Orange engine enamel. If I were to do this over again, I probably would have tried to lay the color in a better lit area than our garage. It got a couple paint runs cause I couldn't see well enough and ended up overdoing it a tad. Slow and gradual is the way to go with this one.

Recreating how the cover is held together from the factory. Using JB Weld to fasten back together in the spots that 6 posts used to be...before I cut them off.
Held together for drying with some quick clamps.

After I unmasked the HEMI lettering to reveal the silver, and applying the pinstriping, I threw down an entire can of clear coat. After that died I added the silver lettering of the 5.7L V8 by hand [also a slow process]
Set aside to dry again overnight.

Finally done, and reinstalled on the car! The reason I decided to add the aluminum mesh area was to allow heat to more easily escape off the engine to help keep the engine temperatures down. This combined with my functional hood scoops [which help bring in colder air into the engine bay] should make things run better in the long run. Plus you can still see the engine...which is nice!